This is really for Amy (Hi Amy!!) who requested a tutorial for a self binding baby blanket I made. Here is my second one and I am glad to do my FIRST tutorial since the directions I followed were very hard to follow. I ended up ripping every single seam I did and started from scratch.
It was totally fun, just in case you were wondering.
I didn't use photoshop to edit any pictures, so excuse the lighting or whatever.
What you need:
2 coordinating fabrics that you love. They both need to be squares. Whatever size you do, make the smaller one 10 inches smaller. Mine were 44 inches square and 34 inches square.
You can go 50 inches square and 40 inches square.
29.5 and 39.5.
Whatever.
The point is you need two squares of fabric. Differing by 10 inches.
Next you will fold them in half and pin the halfway mark. On all 4 sides, on both pieces of fabric. (Don't skip this step, or you will be swearing later on.)
The pin is best put on the wrong side of the fabric. You can do it the other way, but this is easier. And I am all about easier.
Then, matching the RIGHT sides of your two squares of fabric, match up the pins at the middle.
And starting at the middle, pin them together working your way out to the edge.
Go back to the middle and pin all the way to the OTHER edge.
You will now match up the OTHER 3 sides the same way you did the first side.
All pinned up with weird corners. This is what you should look like now.
DON'T SKIP THIS STEP!!!
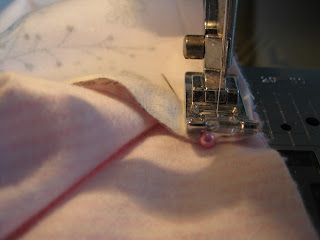
Start sewing IN THE MIDDLE out to the edge. Then go back to the middle and sew out to the OTHER edge. You will have one side done. Repeat for the 3 remaining sides.
Did I mention to NOT SKIP THIS STEP!!!
Stop about 1/4 inch away from the edge of the smaller square.
Make sure to leave one side open in the middle so you have room to flip your blanket!
Using the larger square of fabric, fold it in half at a corner so you make a triangle at the edge with the larger square fabric on the outside.
**The pictures are better than words at this point**
Then fold the little corner in so that you have a fold from the stopping point where you sewed to the flat edge where you folded the blanket in half. The KEY is to make a 90 degree angle on the folded part. Check out the pics.
Unfold it.
That line is where you sew.
Then...
Use the hole you left to flip the blanket right side out, and use your fingers to push the corners out so they look pretty.
Then iron that baby.
Pin your opening and get ready to do the finishing touches.
Top stitch or you can do a different kind of stitch to make it interesting.
Iron one final time and you are DONE.


2 comments:
Hi to you too! (Amy is my actual,really real name in case anyone was wondering.)
Thanks for the tute! It is on my to do list to try now.
I'm totally impressed!
Post a Comment